1
Install PayLink
Make sure PayLink is installed in your environment. Follow the Installation guide if you still need to set it up.
2
Create a PayLink account
Ensure you have a PayLink account created. Follow the Create an account guide if you haven’t already.
3
Create two separate projects
This walkthrough showcases an example of how to monetize an MCP server and how to use that MCP in an agent, allowing the agent to pay for tool invocations.You’ll need to create two separate projects on PayLink. Each project will automatically create wallets attached to those projects. Create one project called MCP and another called AGENT. In real-world applications, these should live on two different accounts, but for testing purposes, you can have them on the same account.If you want to learn more about how PayLink organizes projects and wallets, see the Project and Wallet guides.
4
Set up wallet connection strings
Navigate to each project’s Wallets tab in the PayLink dashboard and copy the connection token for each wallet.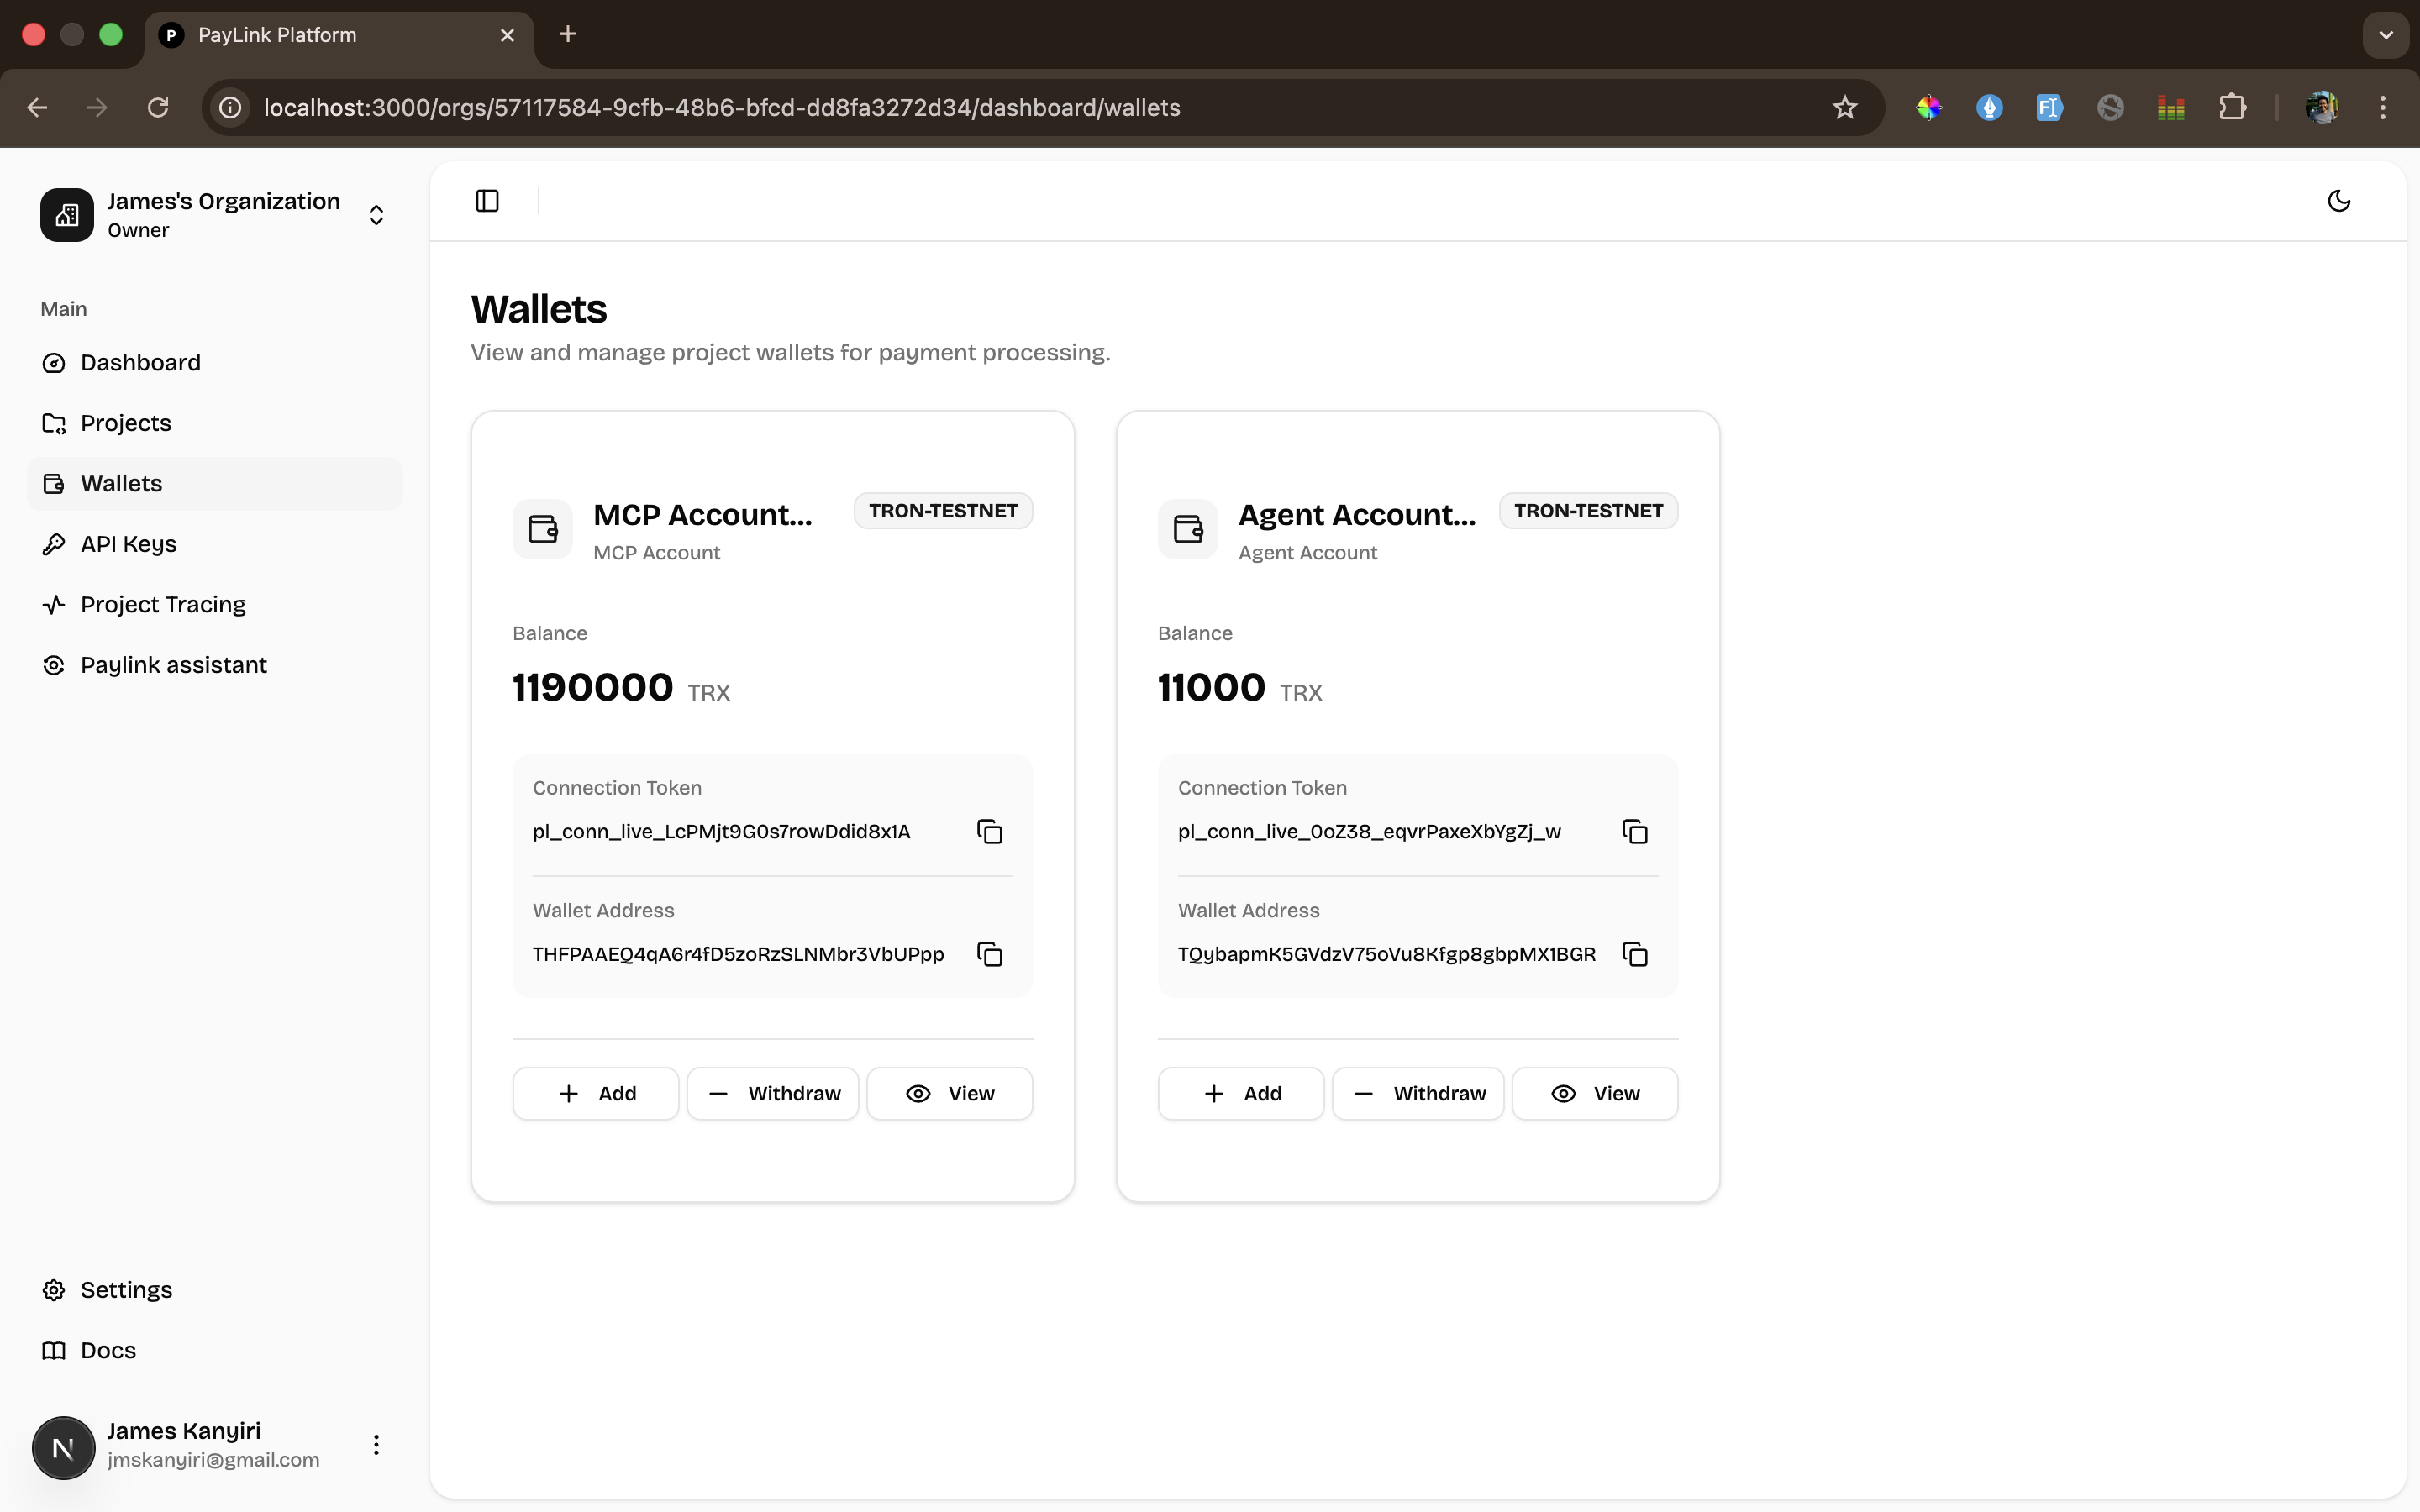
.env file with the following:.env file with the following:Next Steps
Now that you have your environment configured and wallet connection token ready, you can:- Build a basic MCP server without payment to understand the fundamentals
- Add monetization to your MCP server to require payment from agents